Bike lights & visibility · Silver City, New Mexico
Riding across town, heading out on the highway, or staying out past sunset? Tell us about the ride. We’ll help you choose the lights, runtime, and mounting setup that make sense for your bike.
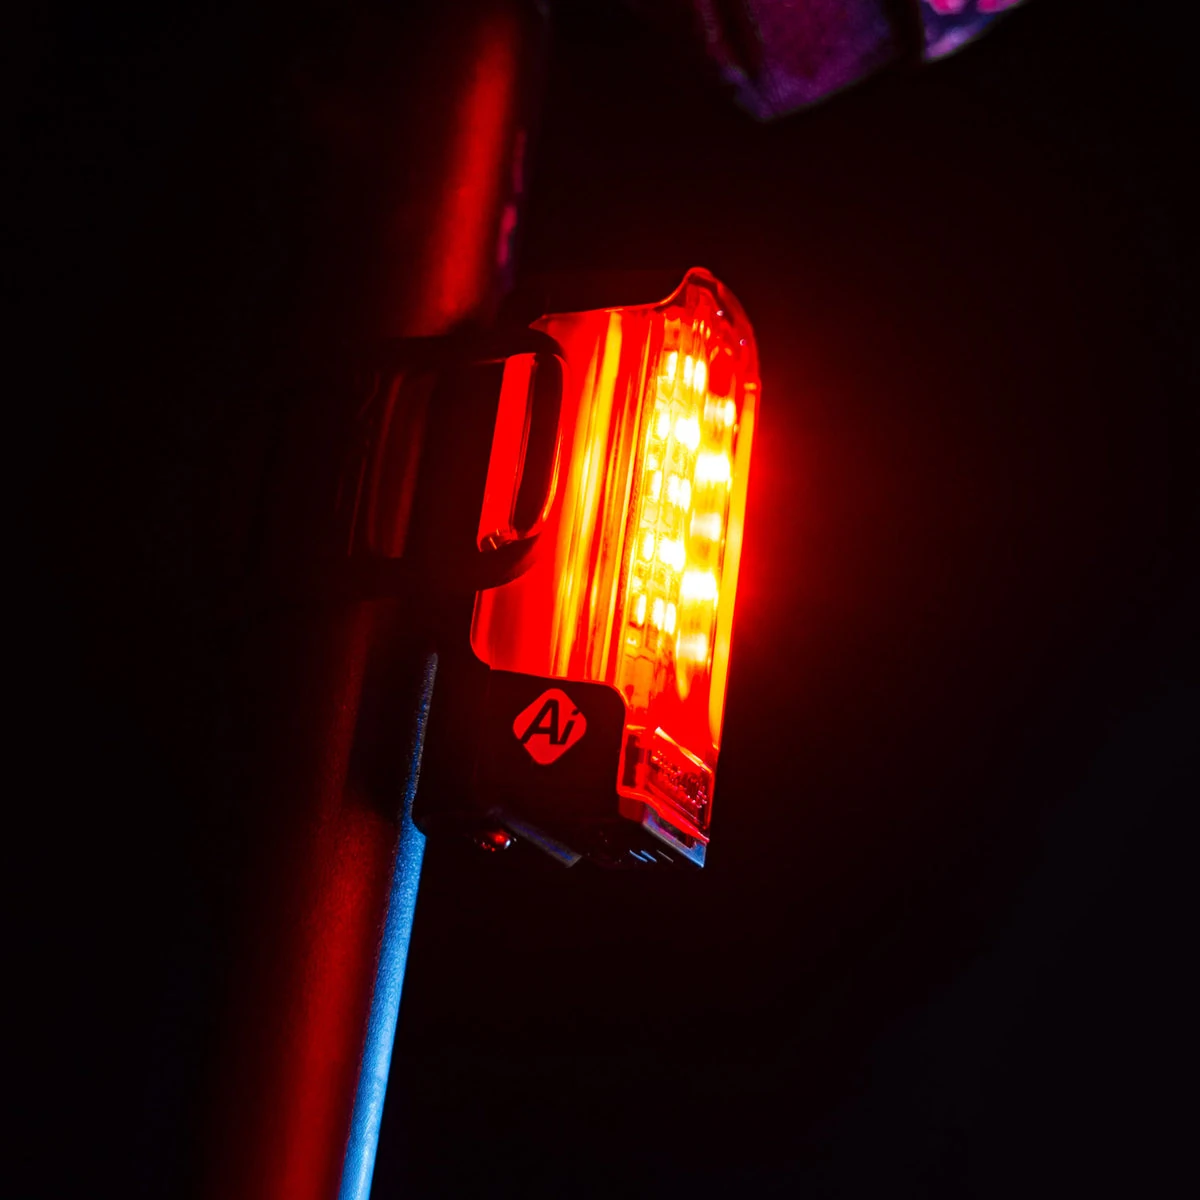
Daylight counts, too.
For daytime road riding, a daylight-visible taillight is our first recommendation. We’ll help you choose one with enough battery life for your ride and a mounting position that keeps it in view.
Bring your seat pack or rack along so we can check the fit. A good light won’t help much tucked behind your luggage.
The rest of the visibility picture
The rear light is our starting point, not the whole picture: front lighting helps with approaching traffic and intersections, too (Cycling UK’s lighting guide). Lights are one part of riding visibly, alongside bright clothing, road position, and awareness of the people around you (NHTSA bicycle safety).
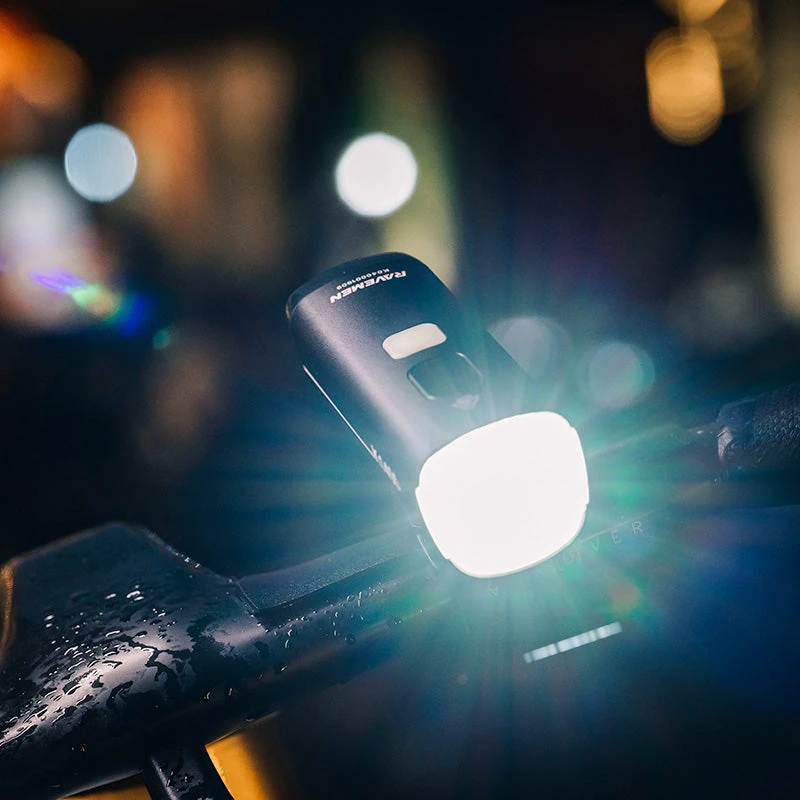
After dark, the beam matters.
Being noticeable and seeing the surface ahead are different jobs. On an unlit road or trail, the beam needs to help you read what’s coming, not just announce that you’re there (Cycling UK).
Our advice: leave some runtime in reserve for a flat tire, a wrong turn, or a ride that takes longer than expected. For touring and bikepacking, we also recommend an independent backup light.
Match the beam to the ride
- Around town: Look for a controlled beam that lights your path without dazzling people coming toward you (Cycling UK).
- Unlit roads and gravel: Look for a useful balance of reach and spread so you can read the surface ahead (Cycling UK).
- Trails: Broader off-road beams can help reveal trail edges and overhead obstacles, but need care around oncoming road users (Cycling UK).
At night or in poor visibility, use a white front light, red rear light, and reflectors (NHTSA). Aim your lights thoughtfully and choose a rear setting that won’t overwhelm the person riding behind you.
Lights we carry
Lezyne & Ravemen.
Everyday lights, daylight rear lights, and higher-output options for riding after dark. We’ll help you compare the useful differences, not just the biggest number on the box. Call or text for current availability; we can check additional options, too.
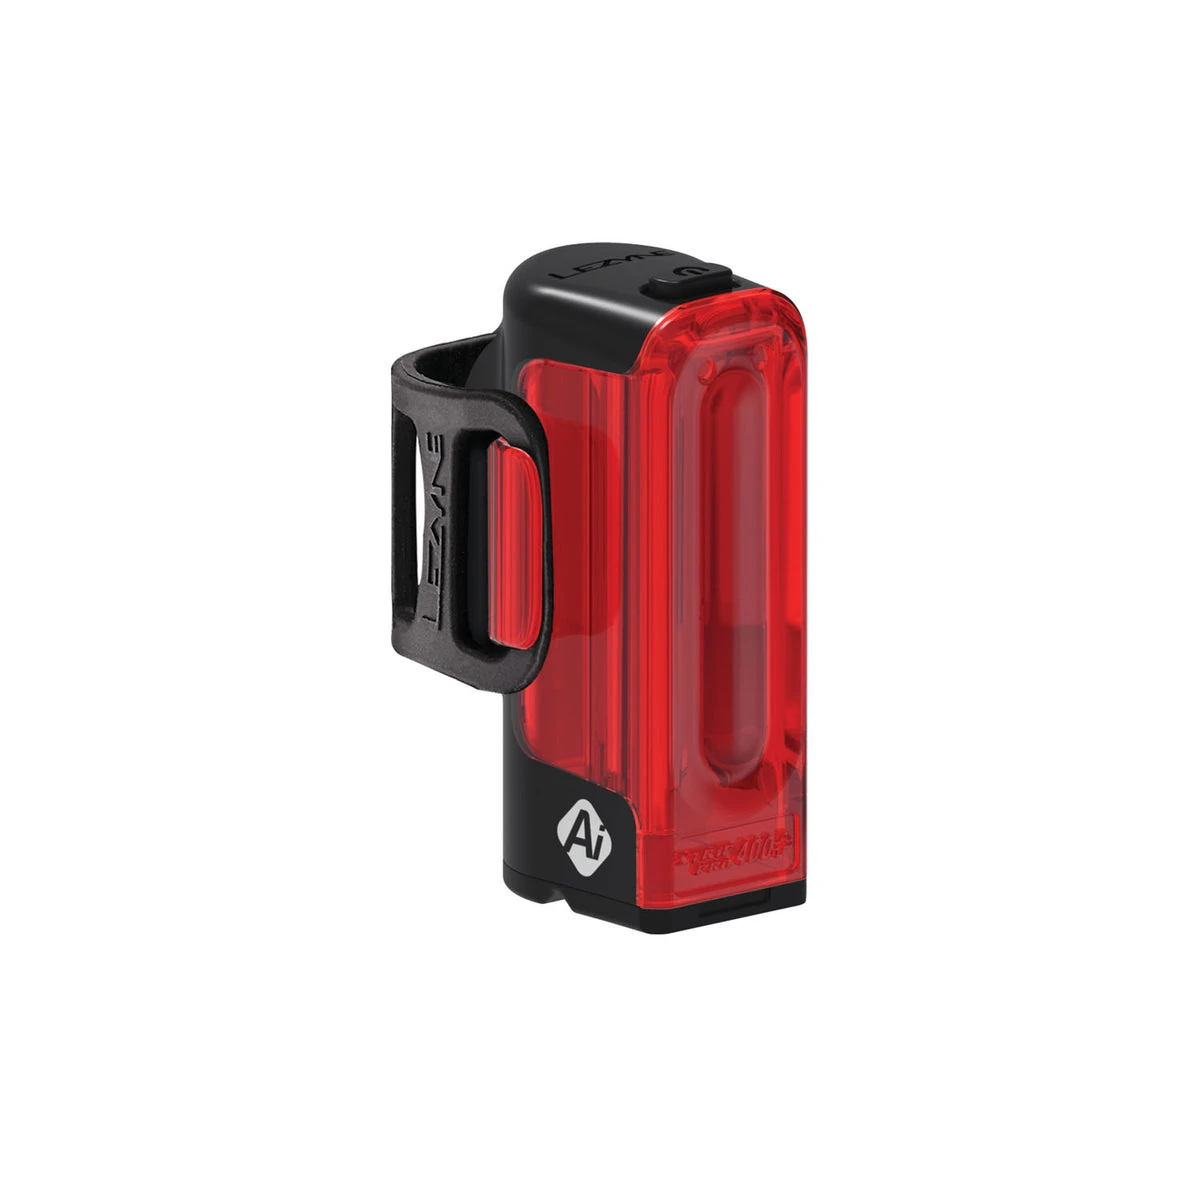
Lezyne
From a compact everyday setup to a dedicated daylight rear light, there are several ways to keep it simple.
Pictured: Strip Pro Ai Alert 400+ Rear
Explore Lezyne models
- Strip Pro Ai Alert 400+ Rear: A rear light with a 400-lumen Day Flash mode, USB-C charging, and an alert that responds when you slow down.
- KTV Drive Pro+ Rear: A compact rear light with up to 150 lumens and an integrated USB charging stick.
- KTV Drive Headlight: Ask about this front-light option as well, especially if you’re putting together a simple everyday setup.
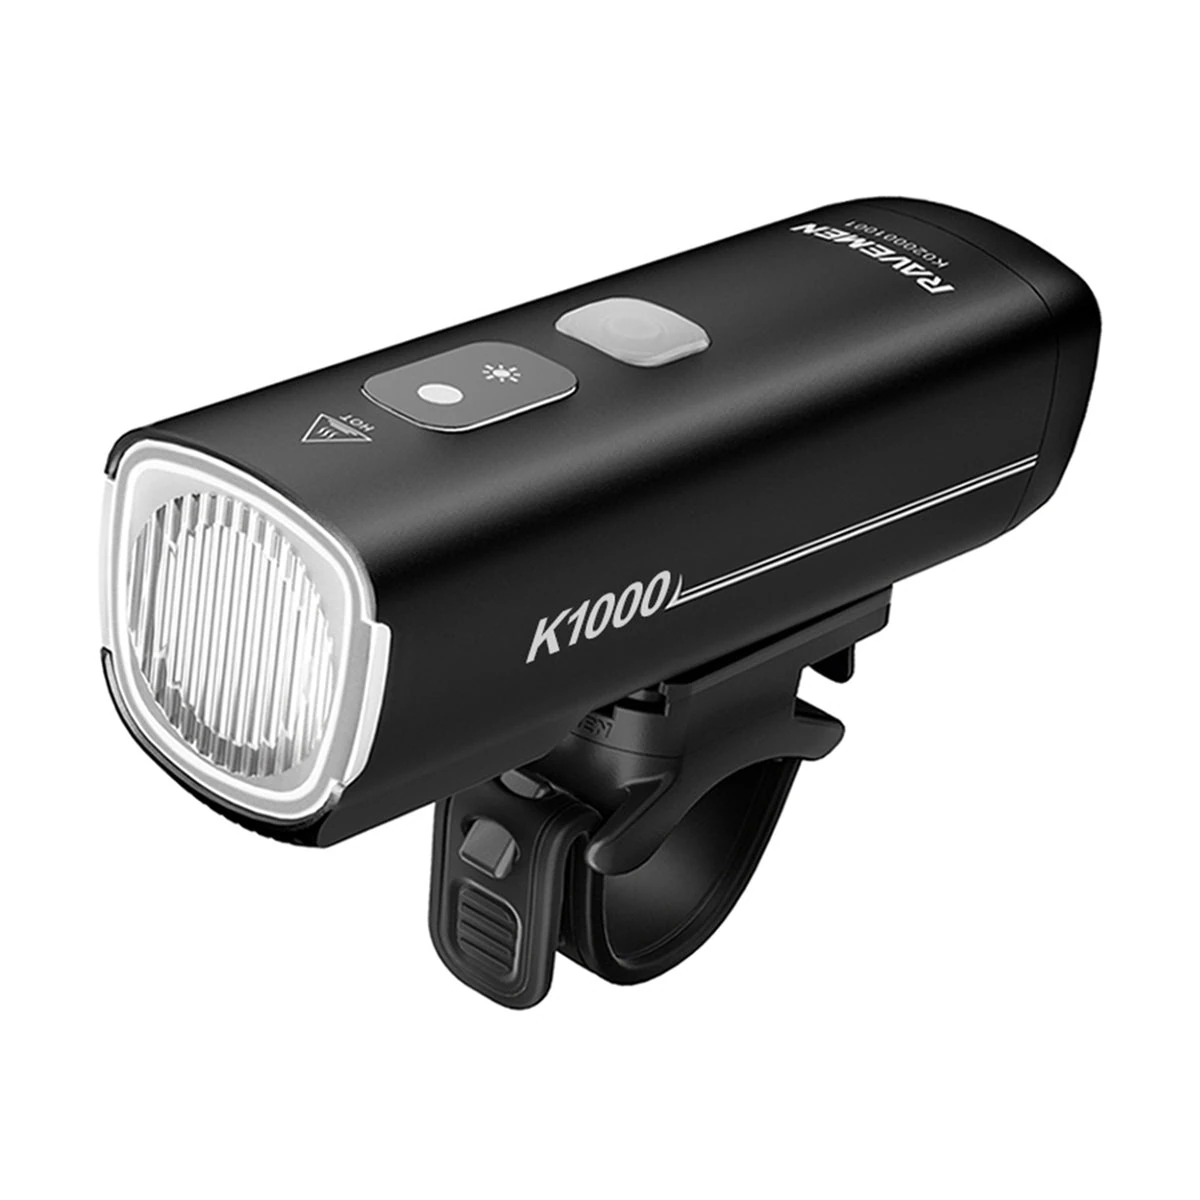
Ravemen
Front lights, compact rear options, and higher-output trail setups. We’ll help match the model and mount to your bike.
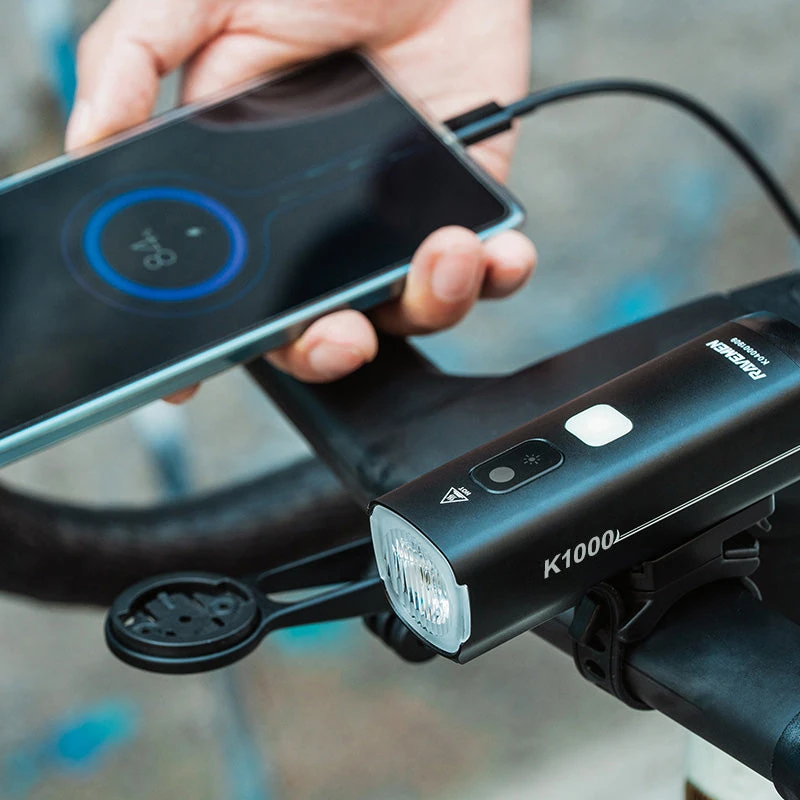
Pictured: K1000 front light
Explore Ravemen models
- K450, K700, and K1000: USB-C front lights with maximum outputs of 450, 700, and 1,000 lumens, respectively.
- XR6000: A trail-light option with up to 6,000 lumens and wireless-switch control.
- CL01: A compact rear light that mounts beneath the saddle on its rails, with USB-C charging and brake detection.
- NT101: A USB-C rear light with remote-operated turn signals and brake detection.
A closer look
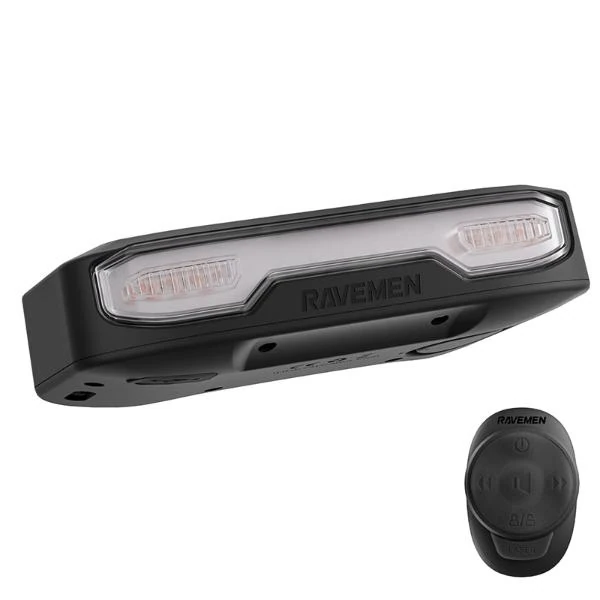
Ravemen NT101
A rear light with a few more ways to get the message across. The NT101 combines turn signals, a brake alert, and a wireless handlebar remote in one setup.
- Turn signals: Choose left or right from the handlebar remote, with an audible click that can be muted.
- Brake alert: Brake detection automatically brightens the rear light for three seconds when braking.
- Lighting options: Up to 160 lumens, six lighting modes, and automatic on/off.
- USB-C charging: A rechargeable 2,200 mAh battery and a low-battery warning.
- Horn & parking alarm: A remote-operated horn, rated by Ravemen at 110 dB, plus a vibration-triggered anti-theft alarm.
- Ground warning lines: Projected lines add another visual cue on the pavement, not a protected bike lane.
Ravemen lists both seatpost and rear-rack mounts for the NT101. Bring your bike and bags so we can check the fit. We recommend treating its signals and alerts as additions to your usual road awareness, not substitutes for checking traffic or locking your bike.
Browse by category in our store: Front Lights · Rear Lights · Light Mounts
A useful balance
Choose for the ride.
You don’t need to become a lighting engineer before coming in. Here’s where we’ll start.
Where do you ride?
Across town, out on the highway, or into the Gila? Tell us whether you ride in daylight, after dark, or a bit of both.
How long are you out?
A commute and an all-day ride call for different plans. We’ll talk about your longest rides and where you can recharge.
What’s on your bike?
Bags, baskets, racks, and cargo all affect the space you have. Bring the bike as you actually ride it.
Brightness, battery life, and charging.
Choose the light and the way you’ll use it together. We’ll help sort out the beam, everyday settings, charging connections, and battery life before you head out.
Lumens, runtime & USB charging
You don’t need to become a lighting engineer to choose a good setup. Here are the things we’ll help you sort out:
- Lumens and beam shape: Lumens tell you how much light is produced; the beam determines where it goes, so the biggest number isn’t automatically the best choice (Cyclingnews’ lighting guide).
- Runtime: Compare battery life in the mode you’ll actually use, rather than expecting the longest advertised runtime at maximum brightness (Cyclingnews).
- Charging: Many lights recharge by USB, but connectors vary; for example, the Lezyne KTV Drive Pro+ Rear uses an integrated USB stick rather than the USB-C port on the Strip Pro Ai Alert 400+.
Tell us if you’ll be charging from a power bank or need to use a light while it’s connected. We’ll check the particular model, charging time, and connections before recommending a setup.
Radar, dynamo & other options
Rechargeable front-and-rear lights are a useful starting point, but there are other approaches worth discussing:
- Replaceable batteries: Lights such as the Planet Bike Superflash run on replaceable AAA batteries instead of needing a charging cable.
- Dynamo lighting: A hub generator can power dedicated front and rear lights as part of a wired bicycle lighting system (Cycling UK).
- E-bike-powered lights: Compatible lights can use the bike’s electrical system, with voltage, connectors, and supported systems matched to the bike (Supernova’s model-specific requirements).
- Radar and cameras: Radar units can alert you to traffic approaching from behind through a compatible display (Cycling UK); some models also add a camera (Garmin Varia RCT715).
- Helmet lights and headlamps: Useful supplementary light for looking around or making a repair, with care needed to avoid shining a powerful beam into someone’s eyes (Cycling UK).
- Side visibility: Reflective gear and bicycle reflectors complement your lights (NHTSA). Ask about wheel and side visibility, too; we’ll look at the whole bike rather than just the front and rear.
We recommend treating radar as extra information, not a replacement for checking traffic. Ask us about these options and we’ll help you work through suitability, availability, and compatibility.
Good equipment. A thoughtful setup.
Bring your bike. We’ll work it out.
Bring your bike as you actually ride it: bags, basket, rack, child seat, cargo, and all. We’ll look at the mounting position with the bike loaded, so you don’t discover later that your bar roll is wearing the headlight as a hat.
We’ll check that the lights stay visible, the mounts hold securely, and you can get to them for charging or battery changes. Bring your existing lights, too; the answer may be a better mount or a different position rather than a whole new setup.
For longer trips, see our Bikepacking guide and Southern Tier & Touring page. For work on the bike, visit our Service page.